
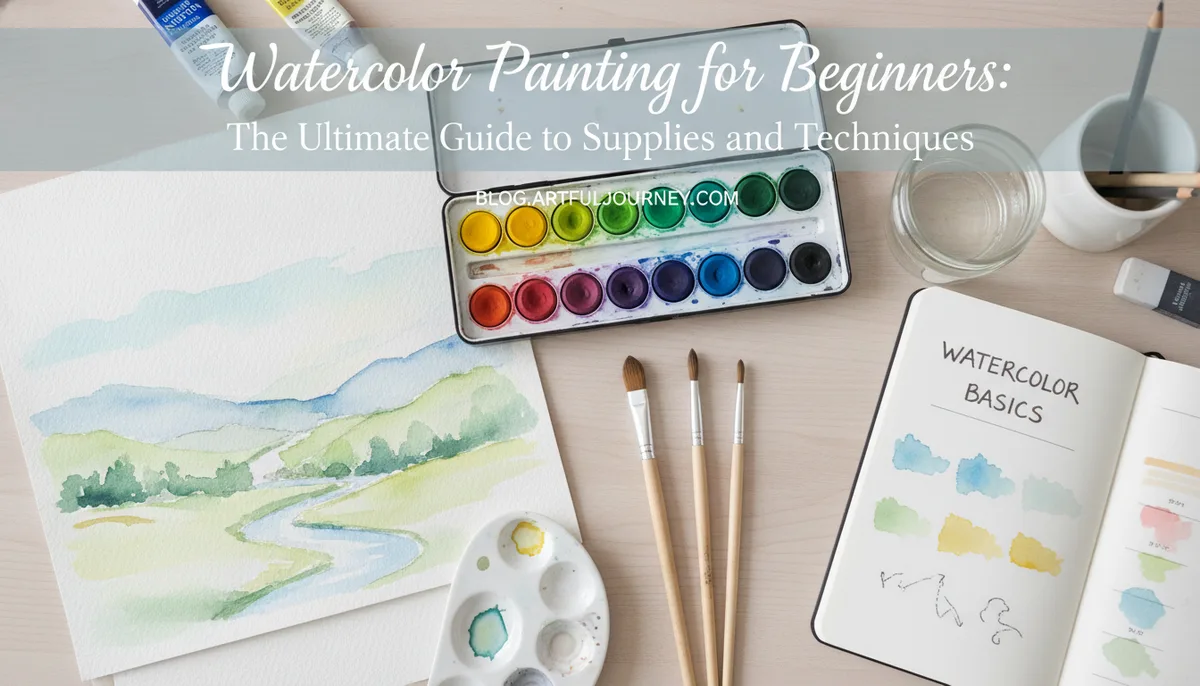
Watercolor Painting for Beginners: The Ultimate Guide to Supplies and Techniques
Watercolor painting is often shrouded in a myth of difficulty. Many aspiring artists look at the fluid, ethereal nature of a professional watercolor piece and assume it requires a lifetime of mastery to achieve. In reality, watercolor is one of the most accessible and rewarding mediums for a beginner to pick up. Its beauty lies in its transparency and the unique way it interacts with water and paper.
By understanding a few fundamental principles and investing in the right tools, you can move from "daunted" to "delighted" in just a few sessions. This guide will walk you through the essential supplies, the core principles of the medium, and the foundational techniques that will form the backbone of your artistic practice.
The Essential Watercolor Toolkit: Choosing Your Supplies
Before you put brush to paper, you need to understand that watercolor is a medium where quality matters. While you don't need the most expensive professional-grade supplies, using "student grade" materials that are too cheap can actually make the learning process harder. Low-quality paper will warp and pill, and low-quality paints will appear chalky or dull.
The Best Watercolor Paints
Watercolor paints come in two primary forms: pans and tubes.
- Pans: These are small blocks of dried pigment. They are activated by a wet brush. Pans are highly portable, making them the favorite for urban sketchers and those who like to paint in a Finding Your Perfect Match: A Comprehensive Guide to Selecting the Best Journal for Your Writing Ritual.
- Tubes: These contain moist paint that has a toothpaste-like consistency. Tubes allow for more intense pigment application and are easier to use when you need to mix large quantities of a specific color for a background wash.
For a beginner, a high-quality "student" set is often the best balance of cost and performance.
The Importance of Watercolor Paper
If you spend money on only one high-quality item, make it the paper. Watercolor paper is specifically treated with "sizing" to handle moisture. Standard printer paper or sketch paper will buckle and disintegrate almost immediately.
There are two main factors to consider:
- Weight: Look for 140 lb (300 gsm). This is the standard weight that can handle multiple layers of water without significant warping.
- Texture: Cold Press is the most popular choice for beginners. It has a slight texture (called "tooth") that helps hold the paint in place. Hot Press is smooth and better for detailed work or botanical illustrations, but it can be slippery and harder for beginners to control.
Selecting Your Brushes
You do not need a twenty-piece brush set. In fact, most watercolorists do 90% of their work with just two or three brushes.
- Round Brushes: These are the workhorses of watercolor. A size 6 or 8 round brush can hold a good amount of water and come to a fine point for detail.
- Flat Brushes: These are excellent for laying down broad washes of color or creating sharp, linear edges.
- Synthetic vs. Natural: Modern synthetic brushes (often labeled "synthetic sable") are fantastic for beginners. They are durable, hold their shape well, and are significantly more affordable than natural hair brushes.
Basic Watercolor Principles: The Golden Rules
To master watercolor, you must respect the physics of the medium. Unlike acrylic or oil, where you can paint light colors over dark ones, watercolor is transparent.
Transparency and the White of the Paper
In watercolor, there is no "white" paint used in the traditional sense. The white you see in a painting is actually the paper itself. To achieve light colors, you don't add white pigment; you add more water to thin out the existing pigment. This means you must plan your painting from light to dark.
The Water-to-Paint Ratio
Learning to control the ratio of water to pigment is the most important skill you will develop.
- Tea Consistency: Lots of water, very little pigment. Used for light, initial washes.
- Milk Consistency: A balanced mix. This is where most of your painting happens.
- Butter/Honey Consistency: Mostly pigment with very little water. Used for deep shadows and final details.
Foundational Watercolor Techniques
Once you have your supplies and understand the principles, it’s time to practice the techniques that create the "watercolor look."
Wet-on-Dry
This is the most basic technique. You apply wet paint onto dry paper. This gives you the most control, as the paint will only go exactly where your brush touches. The edges will be sharp and defined. This is ideal for adding final details or defined shapes over a dried background.
Wet-on-Wet
This is where the magic happens. You first wet an area of the paper with plain water, then drop wet paint into it. The pigment will bloom and spread across the wet surface, creating soft, blurry edges and beautiful gradients. This technique is perfect for skies, water, and soft backgrounds.
Flat and Graded Washes
A flat wash is an even layer of color across an area. The goal is to avoid "backruns" or "cauliflowers" by keeping a consistent amount of moisture on the brush. A graded wash starts with a concentrated color at the top and gradually becomes lighter as you add more water to your brush while moving down the paper. This is a fundamental skill for creating a sense of depth and atmosphere.
Advanced Beginner Methods: Layering and Lifting
As you become more comfortable, you can experiment with how layers interact.
Glazing (Layering)
Glazing involves waiting for a layer of paint to dry completely and then painting another transparent layer over the top. Because the paint is transparent, the colors mix optically. For example, a blue glaze over a dry yellow wash will create a vibrant green that looks different than if you had mixed the colors on your palette.
Lifting
One of the best things about watercolor is that it is "rewettable." If you make a mistake or want to create a highlight, you can use a clean, damp brush to gently scrub and "lift" pigment off the paper. This works best while the paint is still slightly damp, but many pigments can be lifted even after they are dry.
Other Useful Tools for Your Workspace
Beyond the basics, a few household items can make your painting experience much smoother:
- Two Water Jars: Use one for rinsing dirty paint off your brush and the other for getting clean water to mix new colors. This prevents your colors from becoming muddy.
- Paper Towels: Essential for "blotting" your brush to control the water level or picking up excess puddles on your paper.
- Masking Fluid: A liquid latex that you can paint onto the paper to keep specific areas white. Once the painting is dry, you rub the fluid off to reveal the untouched paper underneath.
- Mixing Palette: If your paint set doesn't have a lid that doubles as a palette, a simple white ceramic plate works beautifully.
If you enjoy the precision of line work before adding color, you might explore the differences in tools used for sketching. Understanding Fountain Pens vs. Calligraphy Pens: Understanding the Essential Differences for Enthusiasts can help you choose the right instrument for adding waterproof outlines to your watercolor pieces.
Conclusion: Embracing the "Happy Accidents"
The most important advice for any beginner watercolorist is to embrace the lack of total control. Watercolor has a mind of its own; water will flow, pigments will granulate, and colors will bleed in ways you didn't plan. Often, these "happy accidents" are what give watercolor its unique charm.
Start small, focus on enjoying the process of how the paint moves on the paper, and don't be afraid to waste a few sheets of paper while experimenting. With the right supplies and a grasp of these basic techniques, you are well on your way to creating beautiful, fluid works of art.